
This is a minimalistic design for a proximity sensor glove: a light-up glove that dims in brightness when an object, or person, is close to the sensor. This project costs less than $10, although it does take some time to build (1 – 2 hrs).
This is also a modular design, meaning that it is easily customizable and can be used in other projects.
Here’s a video showing the glove in action.
Materials
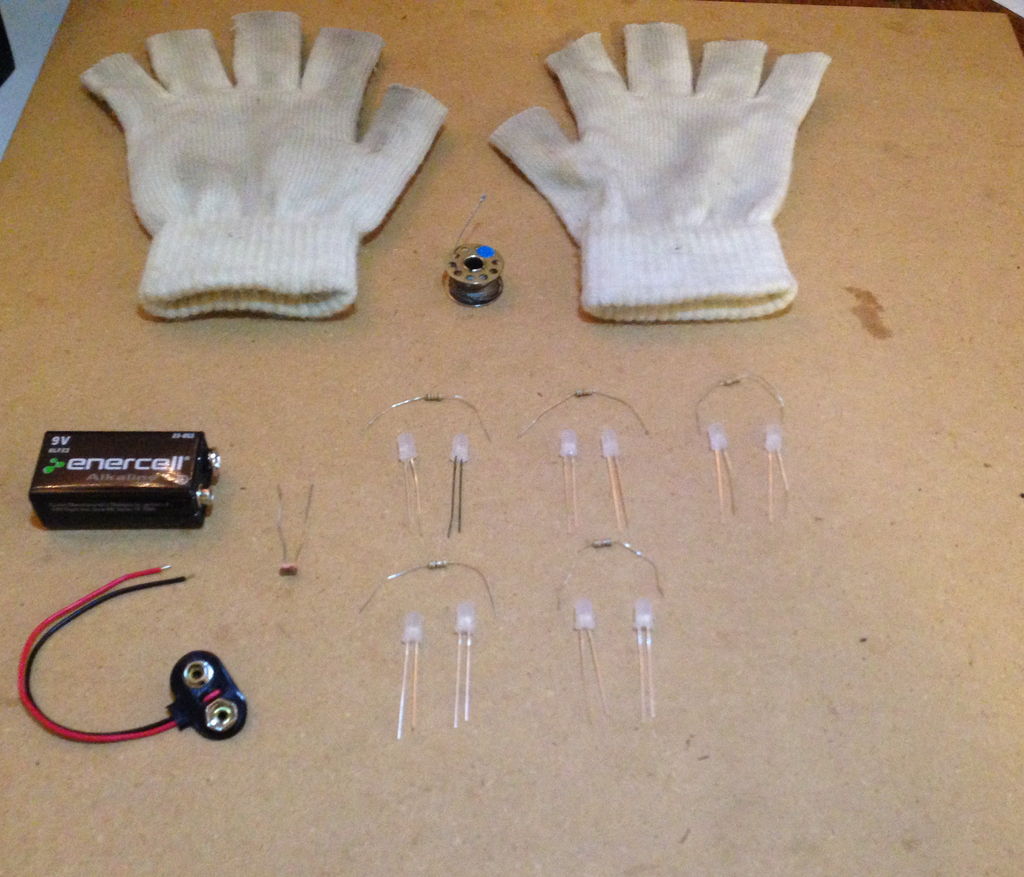
- Gloves (fingertips optional)
Pretty much any type of glove will work. I chose simple cotton ones (that are well worn and have character) because it’s easy to sew components into these gloves and, if necessary, can easily (& cheaply) be replaced. - LEDs! I had 5mm white LEDs on-hand, so I used 10 for one glove. As long as each LED has appropriate resistance, you can (pretty much) add as many as you want.
I strongly recommend getting surface mount LEDs or wearable LEDs. They are a bit more expensive, but are much more aesthetic for this type of project and are waay easier to sew. - Conductive thread
This is one way to connect + attach the LEDs. I chose conductive thread b/c it looks cool and incorporates the circuit into the glove material, acting as both a conductor and an adhesive. Other options include wire or alligator clips.
Disclaimer: When using conductive thread, be super careful of short circuits. I set my conductive thread on fire more than once during this build process..
- Photoresistor
- Five 1 KOhm resistors (one for each pair of LEDs) The value and number of your resistors may change depending on your battery + LED type.
- 9V battery + battery clip
- Switch (optional)
Tools
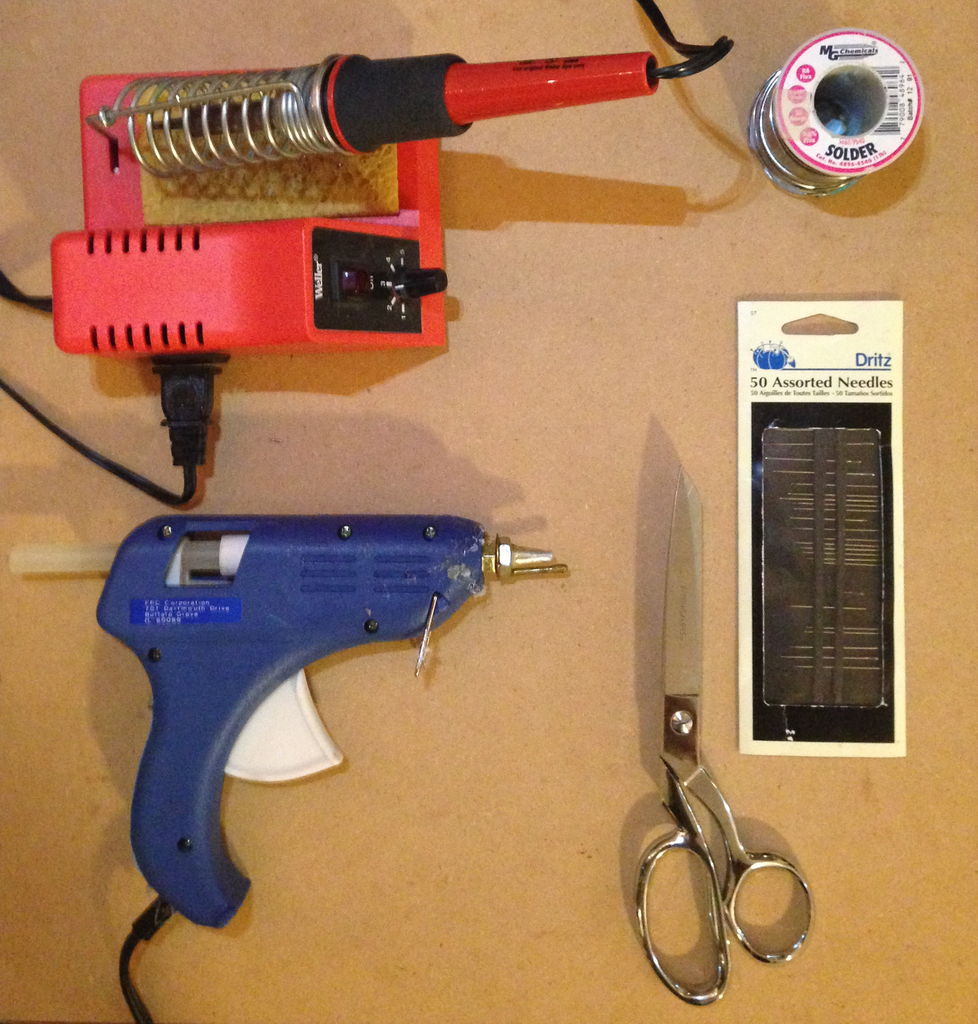
- Scissors
- Sewing needle
- Hot glue gun, epoxy, or other quick-drying adhesive.
- Soldering iron (optional) You can build the glove without a soldering iron by tying conductive thread tightly to a component, then coating in hot glue or other adhesive.
- Multimeter (highly recommended) A multimeter is super useful for checking electrical connections.
Build it! Pt. 1
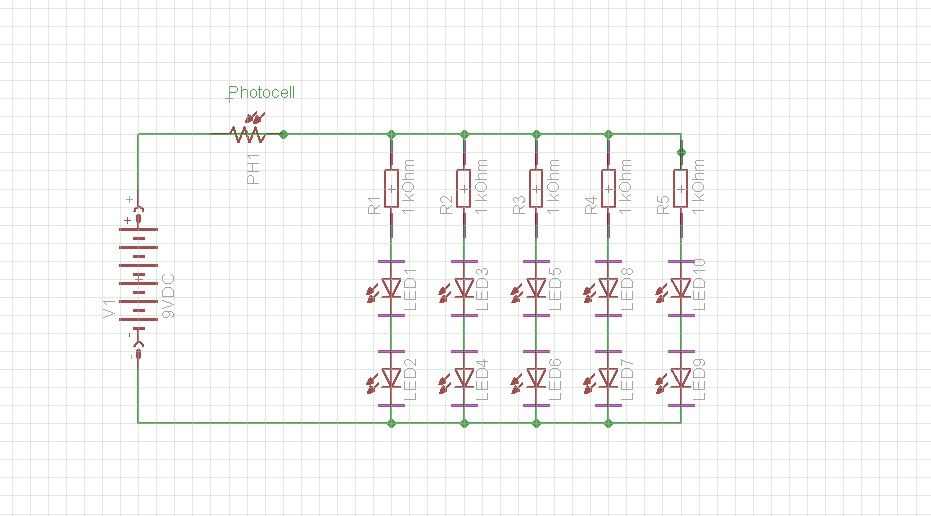
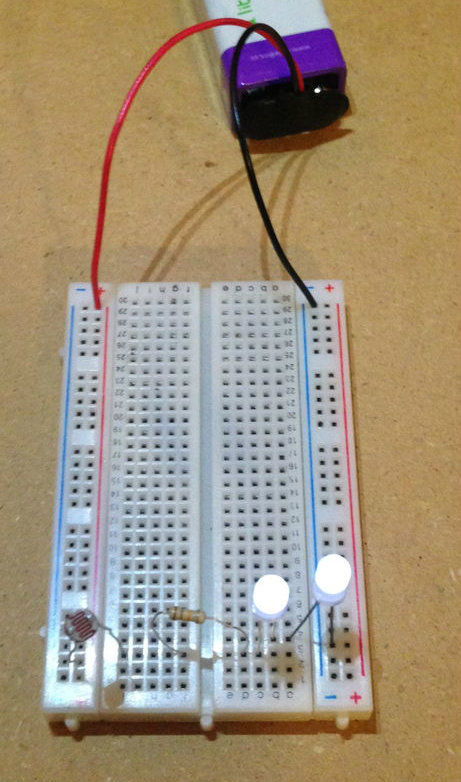
If a breadboard is available, use it to test the circuit.
 If you have a switch, connect one end to a battery clip lead.
Solder the two wires together, or use conductive thread + hot glue.- Determine layout of the photoresistor(s), LEDs, and resistors.
You can follow my schematic or you can add more LEDs and/or photoresistors (recommended b/c it’s cooler). Here’s a helpful website to calculate the circuit resistance. Remember that the photocell also adds some resistance (mine was between 300 Ohms and 1 MOhm).
In my layout, two LEDs are connected in series with a resistor, as in the breadboard photo above. These in-series LED pairs are then connected in parallel with all other in-series LED pairs.
Aside: Diode forward voltage & current depends on the color. These white LEDs were ~ 3.4 VDC and 20 mA. Use Google or this page to find forward voltage and current for your specific LEDs.
- Turn glove inside out and mark location of the LEDs, resistors and photoresistor(s).
- Sketch the positive and negative connections onto the glove w/ a pen. Label the + and – lines.
This step is especially helpful b/c 3D circuits can be a bit confusing.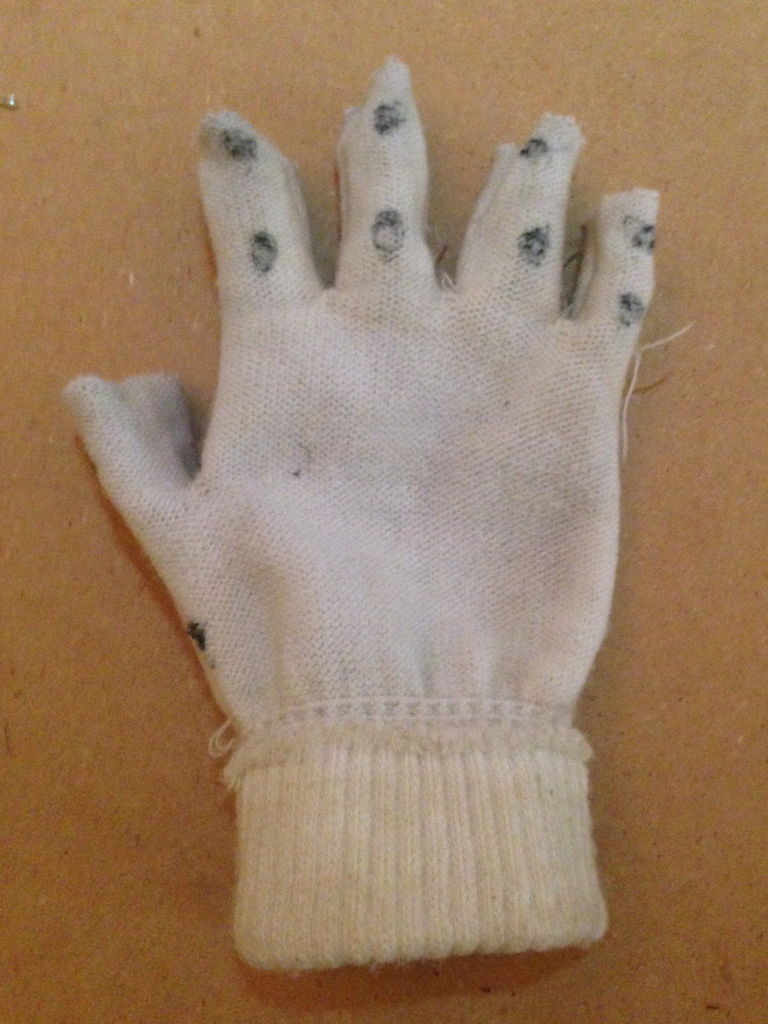
Build it! Pt. 2
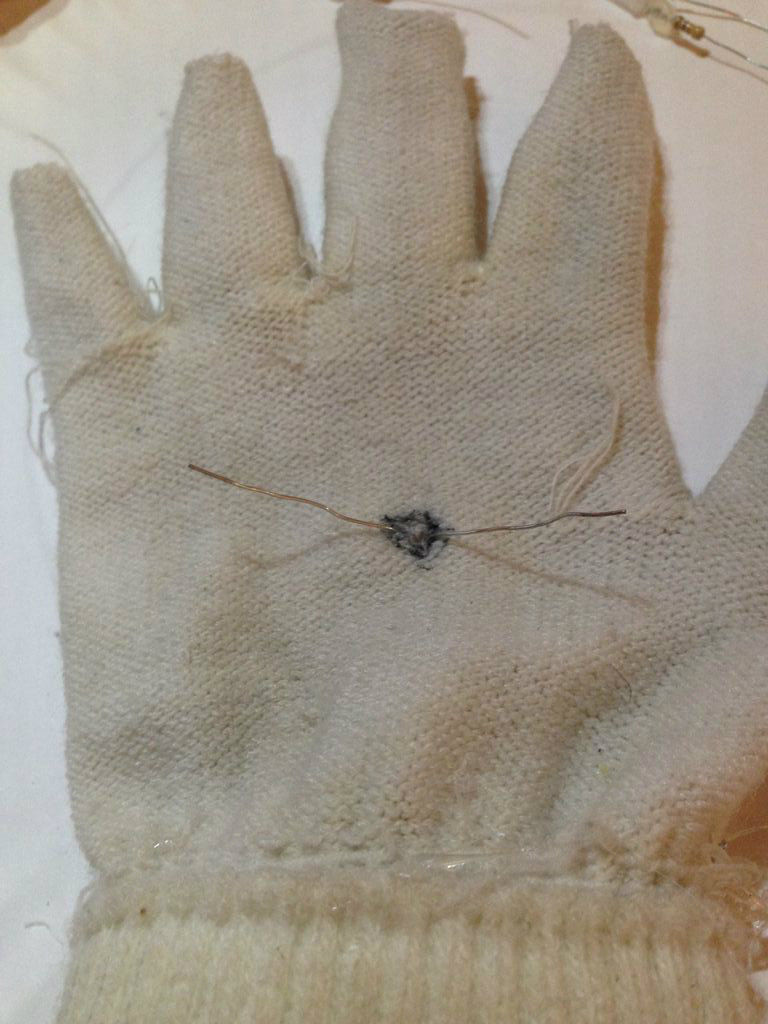 Attach the photoresistor to the glove (and add a positive battery lead to the glove).
Make a slit in the glove or push the photoresistor wire legs through the fabric (be sure the legs are on the inside of the glove). To hold it in place, dab hot glue or sew legs to glove with regular thread.Tie conductive thread to one end of the photoresistor (either leg works), and sew thread through the
glove to the bottom. Leave a few inches of thread at the end for the the
battery connection. Coat connection in hot glue.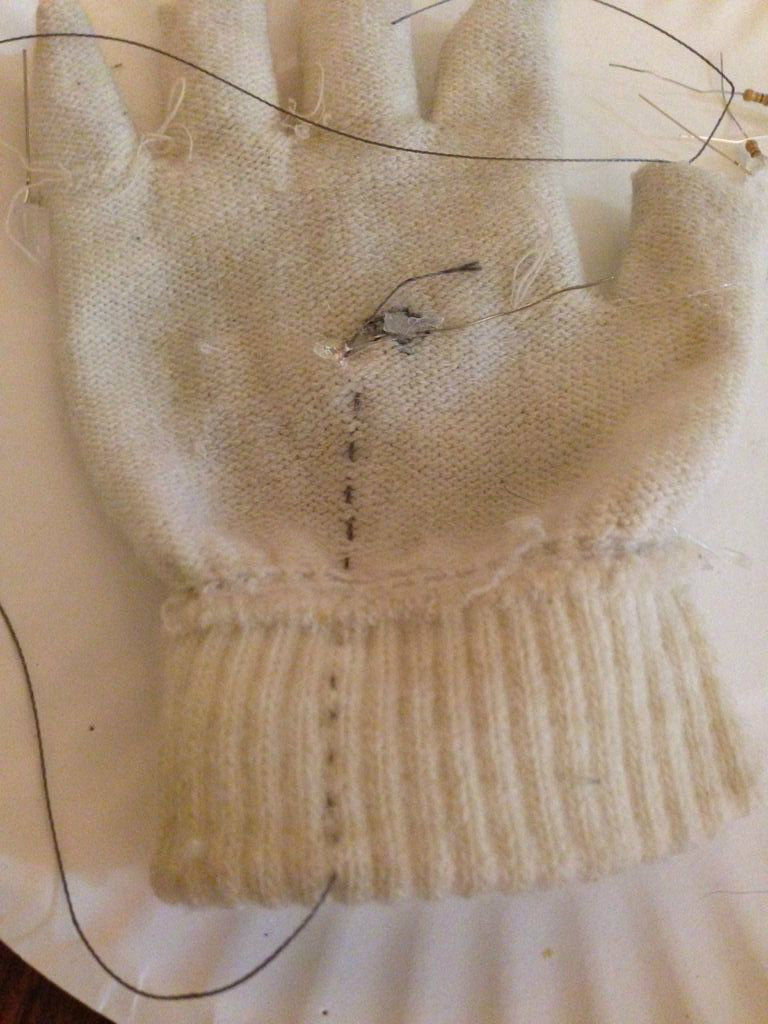
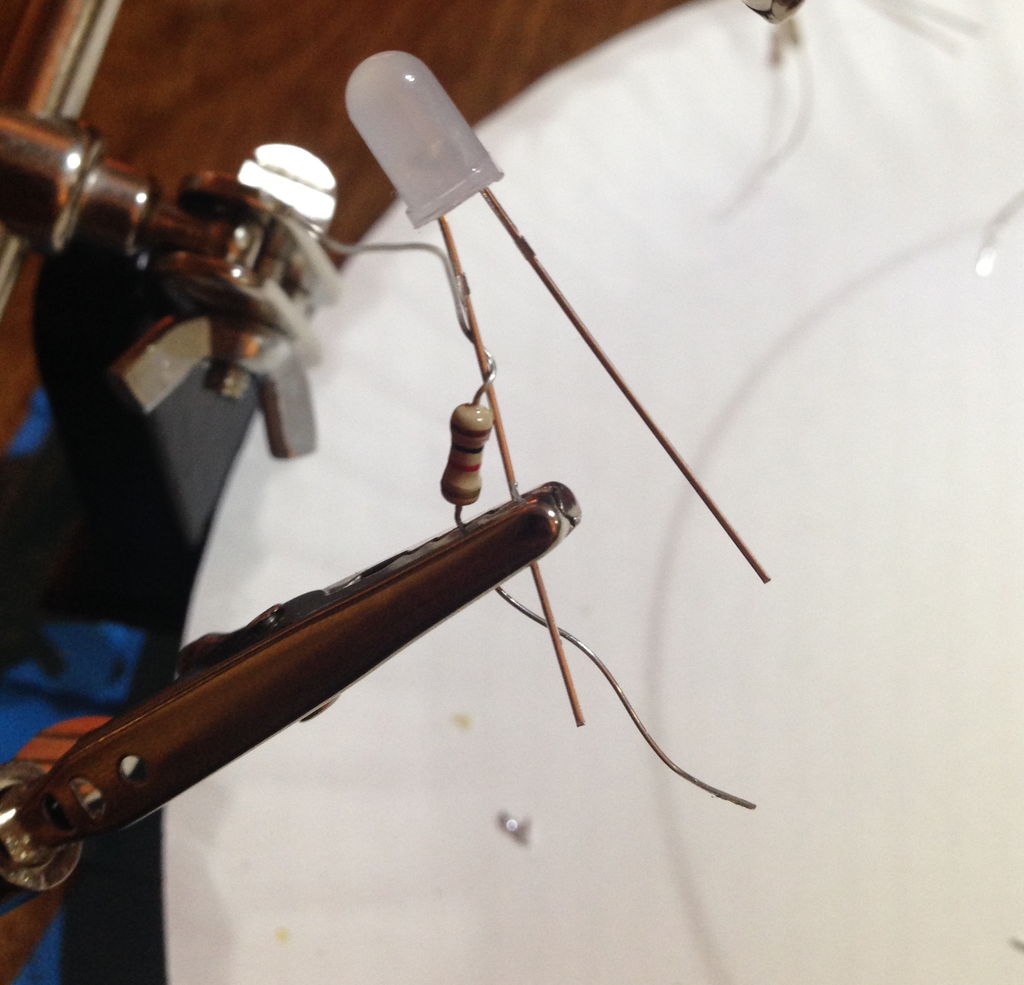
- Attach a resistor to the positive leg of one LED. Repeat for one LED in each set of LEDs that are in-series (5x for this configuration).
Wrap the two ends together and, if possible, solder the connection. Remove excess wire and coat in hot-glue to adhere connection and cover sharp ends.
Build it! Pt. 3
- Attach the LED + resistor to the glove.
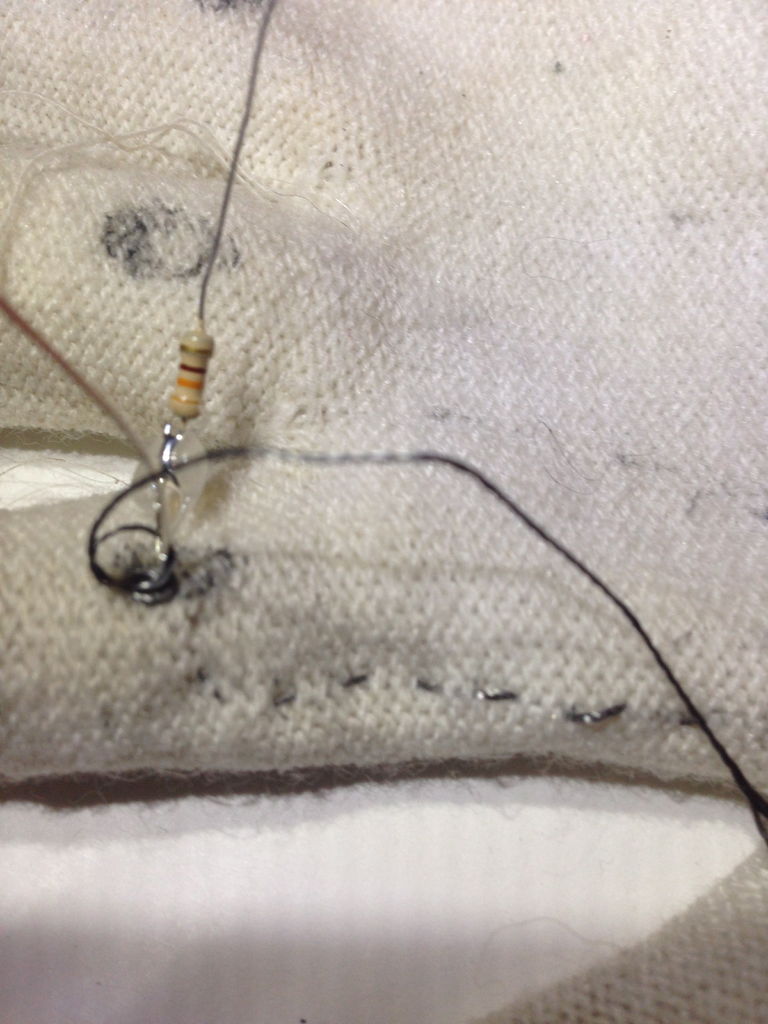
Poke the ends of the LED through the glove (or make a slit). Tie conductive thread to LED legs and coat in hot glue to hold components in place, and to cover sharp ends.
Be careful to avoid shorting the LED legs with the conductive thread. 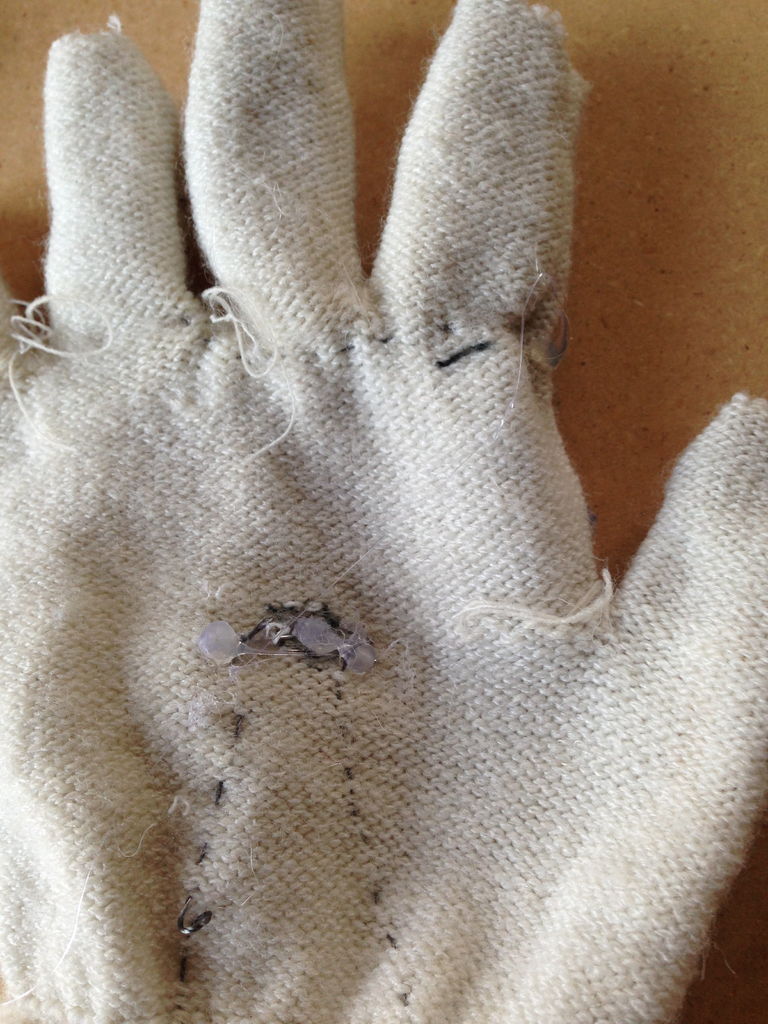 Connect the LED + resistor to the open leg of the photoresistor. Sew conductive thread from the resistor leg to the photoresistor leg, then tightly tie thread to photoresistor leg. Coat connections in hot glue.
- Connect the next in-series LED.
Connect the positive leg of the next in series LED to negative leg of the previous LED.
Depending on the type and number of LEDs you are using, you may have one, two or more LEDs in series w/ the first LED + resistor. - Repeat Steps 1 – 3 for all LEDs in parallel.
Build it! Pt. 4
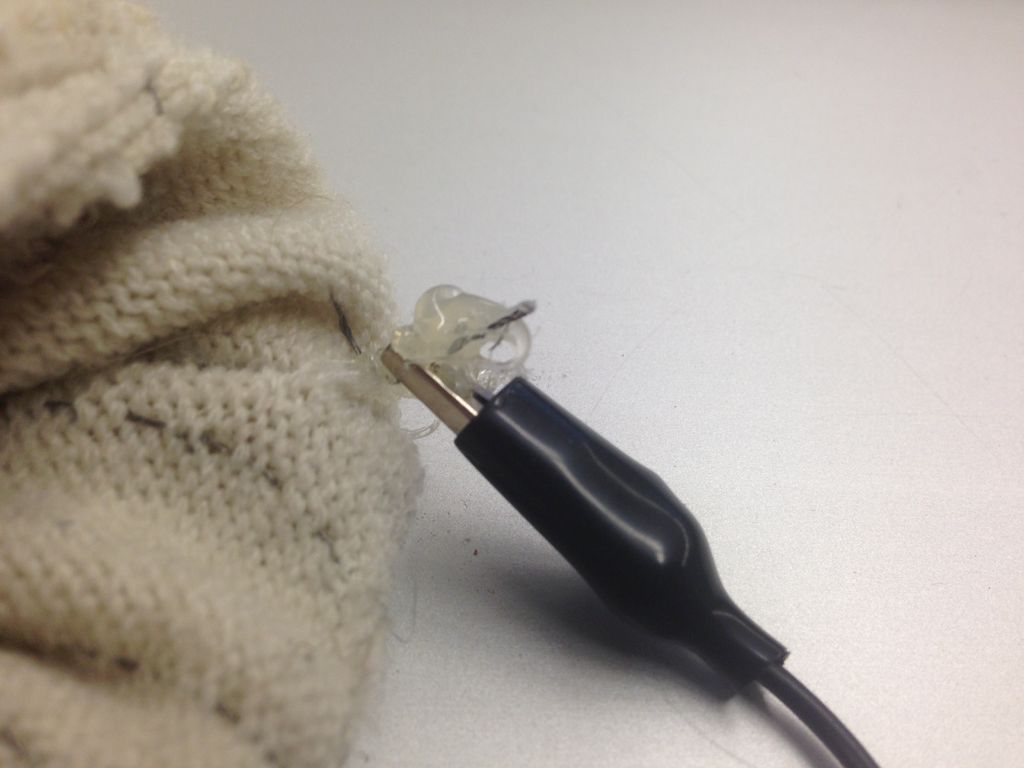 Once all the LEDs + resistors have been installed, add in a negative battery lead.
Consider where you want to put the battery before adding in leads. You can attach the battery directly to the glove, hide it inside the glove, or install long leads to allow the battery to be placed elsewhere on your body.
My initial design used conductive thread for both battery leads, but this shorted the glove so many times I replaced them with an alligator clip in the final design. This works much better, is safer, and is seriously recommended over conductive thread. If you don’t have an alligator clip, any insulated wire will work.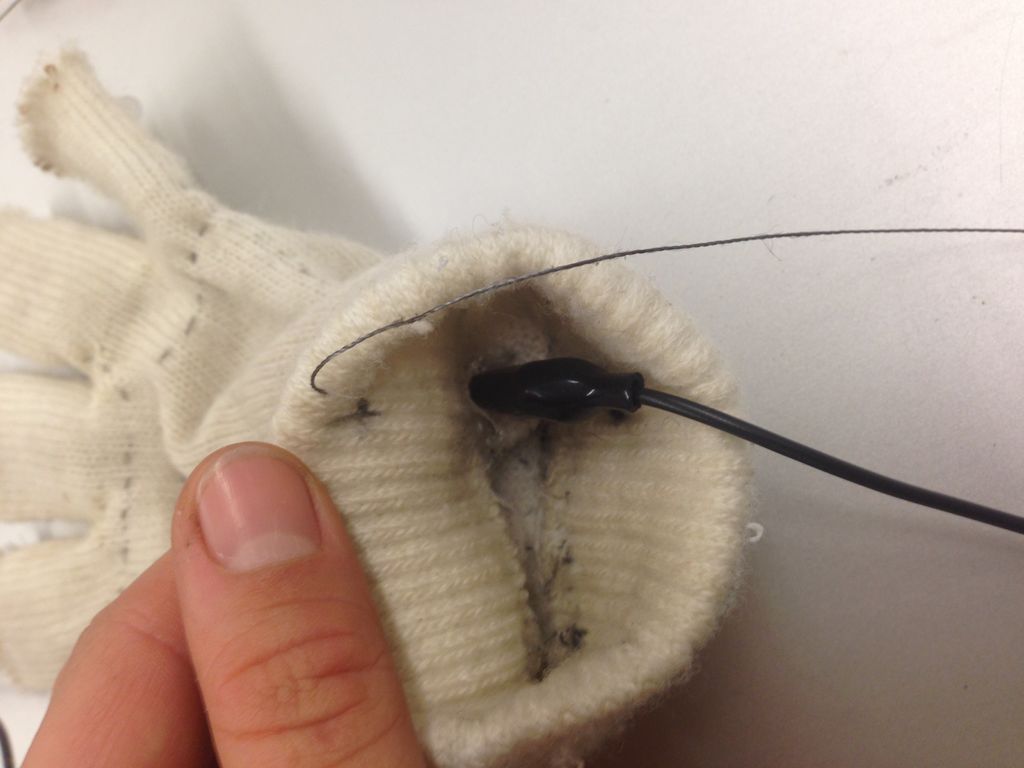 Label the positive and negative battery leads.
- Optional: Solder the battery clip leads to the glove battery leads and dab with hot glue.
Alternative options include alligator clips or twisting wires together + coating with hot glue.
Test & Wear!
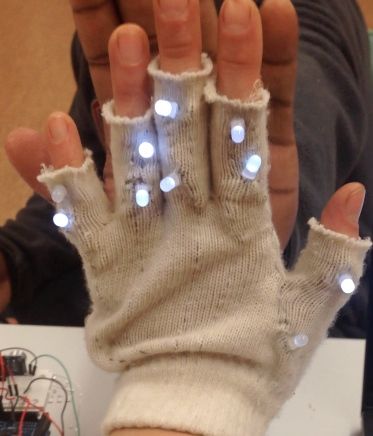
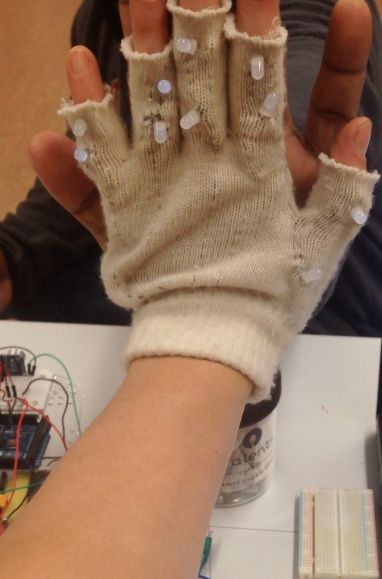 Be sure to test your design BEFORE you wear it because if there are shorts in the conductive thread it will probably catch fire. So, please be careful and be sure that the positive and negative sides of the circuit do not touch.
The connections can be a bit finicky. Be patient and check the electrical connections w/ the battery or a multimeter (if you use a battery, be careful to avoid shorting the circuit). Fix and add more hot glue as necessary.
Once you know it works, put on the glove(s) and impress your friends!
Happy hacking!
