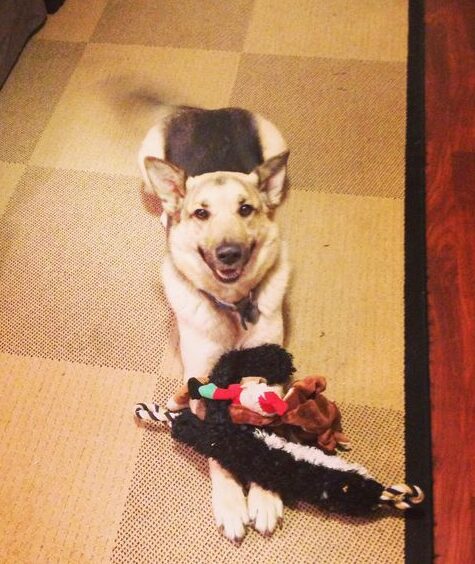
My dog, Marley, is, like most dogs, the goodest boi. But he also has a lot of anxiety, mostly when I am not home. I panic every time I come home and Marley is not there to eagerly and enthusiastically (and loudly) greet me at the door because I know that he has locked himself inside some room in the apartment.
How does he do this?!
Marley can easily close doors. He also can open them, if it’s a latch-type handle and he can push the door open (he also has figured out how to open outdoor gates — ridiculously smart and motivated doggo). But, Marley does not have thumbs (surprise!), which means that he can’t pull open doors! So when he fully closes a door by pushing it with his nose or his front paw(s) and it latches, he cannot open it again.
He knows that the secret to opening the door is the handle (I know this because I’ve 1) seen him try and 2) his scratch marks are centered around the door handle), but without a way to pull open the door he’s completely stuck and in even more of a panic. He’s destroyed more than one door (not fun).
Finally, I decided to help out my poor, anxious, and brilliant dog by building him a dog-friendly switch to activate an automatic door. This project solves two things:
1) It reduces my dog’s anxiety and potential danger if he locks himself in a room and panics and does not have water, and
2) It also reduces the likelihood that my dog will destroy a door.. which is expensive.
But I rent! I can’t go drilling massive holes in the wall or replace the door handle and whatnot. What to do?! Put on my design thinking cap and create a project that I can easily take down when I move, leaving little to no trace of my dog-friendly home automation modification.
That was the motivation and story behind my most recent project build: A Dog Door Opener! The tutorial is a step-by-step guide for how I made a dog-friendly automatic door.
Bonus: I used the micro:bit, which is a great tool to learn how to code and how to work with hardware, yay! I also incorporated a robotics kit for kids made by BinaryBots, which was super useful because it had a strong motor compatible with the micro:bit and many of the mechanical parts and pieces I needed to make this project. It also helped keep the cost down, since strong motors and mechanical parts can get expensive, quick.
Anyway, I hope you enjoy the project! I also would lovelovelove to see if you build this, and if so, what you make! Feel free to share here or tag me on social media: @jenfoxbot or @foxbotindustries!
Happy making, friends! Let’s go forth and make our homes and buildings more pet- and people-friendly!
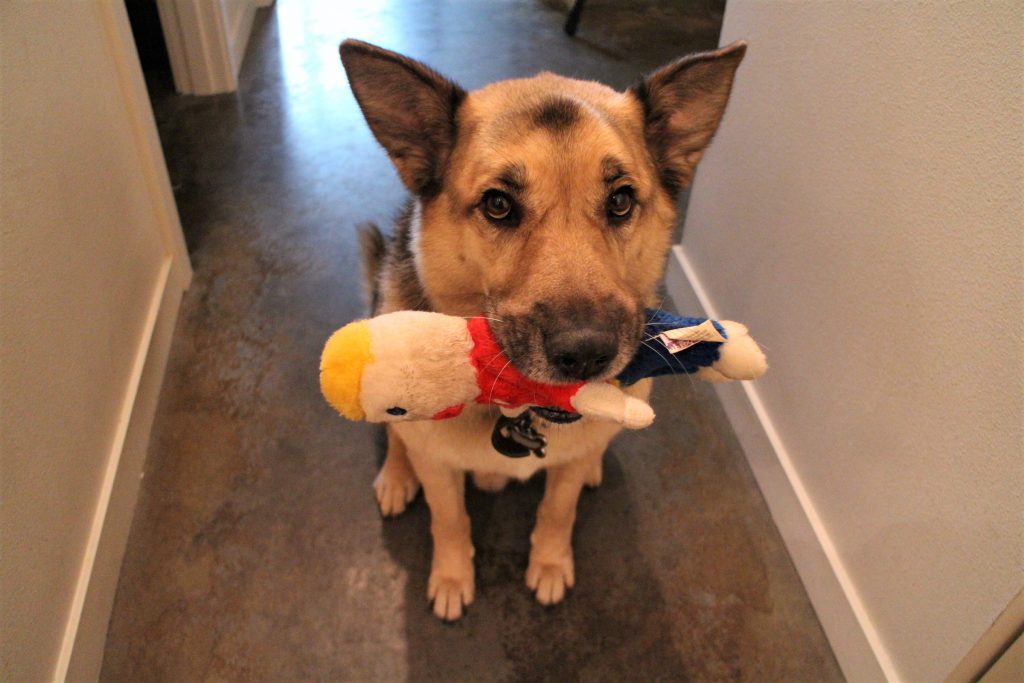
Keep an eye (er, ear) on your beloved bbies while you are away! This project monitors the volume of sound in your home and if your pet gets too anxious and starts barking or making other loud noises, soothe their sad lil’ soul by turning on music or your own (pre-recorded) voice!
This tutorial will show how to build this project using a Raspberry Pi computer to monitor sound in your home (via the Cloud) to see if and when your pet is upset.
Along with the Pi (and speakers), we’ll use the SparkFun MEMS microphone breakout board to measure volume levels and trigger the audio player. Data is uploaded to the CloudMQTT service using the MQTT communication protocol.
Total Read Time: 8 min.
Total Build Time: 60 min. (less if you are experienced)
Suggested Reading
To build this project, you’ll need a fully configured, WiFi-connected Raspberry Pi 3 computer with Raspbian OS. It’s also helpful to know some Python programming as well as the following things: (1) how to use and control the Raspberry Pi GPIO pins; (2) MQTT communication; and (3) analog sensors. If any of this is unfamiliar, or if you’re just curious (be curious!), check out the tutorials below!
MQTT (Message Query Telemetry Transport) is a popular IoT communication protocol. We’ll use the Paho Client Python library and an MQTT service called CloudMQTT. Here’s more about MQTT and how to use it:
The MEMS microphone is an analog microphone, so we’ll need an Analog-to-Digital converter (“ADC”) to read in the analog signal with the Raspberry Pi digital GPIO pins.
The OMXPlayer is an audio and video player pre-loaded on Raspbian OS. It works with most sound file types, including: .wav, .mp3, and .m4a. This is what we’ll use to play back sounds when Fido gets too loud. The Python library to control the OMXPlayer is included in Raspbian (woo!).
To test the OMXPlayer from the terminal, type the following:
omxplayer /home/.../SongFilePath/SongFileName.mp3
If that doesn’t work, try forcing it over the local audio-out device:
omxplayer -o local /home/.../SongFilePath/SongFileName.mp3
Step 4: Configure CloudMQTT Server
Now we set up an MQTT server! To do this using CloudMQTT, do the following:
You can monitor published messages in the “Websocket” UI.
Finally, install the MQTT Paho Client Python library:
pip install paho-mqtt
Build it! Hardware
Here’s a pinout for the Raspberry Pi 3:
1. Insert MCP3002 pins into breadboard. Here’s a pinout for this board:
The MCP3002 uses 4 SPI pins for communication: Serial Clock (“SCL”), Master Input Slave Output (“MISO”), Master Output Slave Input (“MOSI”), and Chip Select (“CS”). These pins correspond to Raspberry Pi GPIO pin 11 (SCLK), GPIO pin 9 (MISO), GPIO Pin 10 (MOSI), and GPIO Pin 8 (CE0).
Make the following connections with MCP3002 pins:
Connect Pin 1 to Raspberry Pi GPIO Pin 8 (CE0)
Connect Pin 2 to the analog output of the MEMS Microphone breakout board
Connect Pin 4 to GND
Connect Pin 5 to Raspberry Pi GPIO Pin 10 (MOSI)
Connect Pin 6 to Raspberry Pi GPIO pin 9 (MISO)
Connect Pin 7 to Raspberry Pi GPIO Pin 11 (SCLK)
Connect Pin 8 to Raspberry Pi 3.3V out
2. Solder wires to the MEMS Microphone breakout board. Connect to MCP3002 and Raspberry Pi.
Connect Vcc to Raspberry Pi 3.3V.
Connect GND to Raspberry Pi GND
Connect AUD to MCP3002 Pin 2
3. Plug in all the cables for the Raspberry Pi and turn everything on.
Build it! Software
Our goal with the Bark Back is twofold: trigger a playback sound when the dog barks, and send the data to a server where we can check it.
Here’s the open-source Python program for this project. Feel free to (and please do) adjust and modify the code
To get the program up and running, you need to fill in two things:
– songList: Write in the file path and file name for each of the songs you want to play.
– creds: Input your CloudMQTT information in this dictionary.
Step 1: Read in the SparkFun MEMS Microphone breakout board.
Read in the ADC value (between 0 and 1023) from the MEMS Microphone breakout board (via the MCP3002) using the SPI library and calculate the signal peak-to-peak amplitude.
Map the signal peak-to-peak amplitude to a Volume Unit. The current code maps the ADC range between 0 and 700 (based on quick experimentation) to a Volume Unit between 0 and 10. To adjust the sensitivity of the microphone, adjust the ADC input range.
First we’ll need songs to play! You can quickly record sounds in GarageBand (or on your smartphone) and send ’em to the Raspberry Pi. In Python, use the subprocess library to call the omxplayer.
In the code, input the file path of the songs you want to play back in the *songList* variable (line 26). The current volume threshold is set to 7 in the main function.
Step 3: Send data to CloudMQTT Server
Use the Paho Client Python library to communicate with the CloudMQTT servers. To broadly summarize: Set up a Client server; define communication protocols; connect with our credentials (aka creds); and subscribe and publish our data. Most of this is done in the main function (lines 129 – 149, and lines 169 – 174).
To check on received data, go to the “Websocket UI” tab in the CloudMQTT console.
Test & Install & Enjoy!
Run the BarkBack.py program in Terminal or in the Python IDE (you can also use SSH to run the program after you’ve already left).
Check that you are getting volume levels in your Websocket UI tab.
Test the system by triggering the mic (clap, yell, bark, etc.) to be sure that the speakers play through all of the sounds.
Once everything is up and running, it’s recommended to solder the components to a PCB (Printed Circuit Board) if you intend to install the system for more than just a few days.