Every time we leave our homes, we are photographed and videotaped in public and private spaces. Facial recognition software identifies our unique facial features and can be used to tag us in photos that are taken with or without our consent. This tutorial is about exerting our right to control our personal privacy. It is our choice and our right to decide if we want to be identified by cameras that photograph us in public and private spaces.

There are many approaches to anti-facial recognition makeup/wearables. This is my first approach based on some background research, chatting with fashion-minded friends, and my own personal artistic and electronic interests.
The purpose of this project is to make it more normal (& fun!) to wear privacy enhancing fashion so that if/when it is needed, folks who are using it for legitimate protection are not targets.
Follow along or use this as inspiration for your own anti-facial recognition wearables! If you design your own, pleasepleaseplease share it in the comments so other folks can learn from and be inspired by you!
Difficulty: Easy
Build Time: 1 – 2 hours (+2 hours for glove controller)
Cost: < $15
Quick Overview of Facial Recognition Software
Computer Vision, or “CV” for short, is a software method that breaks down images into a series of black and white pixels, and then attempts to extract meaning from patterns in the pixels. Since human faces have the same characteristics (two eyes, nose, mouth, & chin), these characteristics can be broken down into patterns that a software program can look for.
For example, pupillary distance, or the distance between the pupils of each eye, varies from about 54 to 68 mm for adults – a CV program would look for black pixels separated by that distance range and log those as one layer. There are tons of patterns that a CV program can search for and locate, then go back and analyze the layers together to ensure they match up. All of these values are stored as variables that can be used for comparison with other images.
The more images a CV program analyzes, the better it gets. By comparing CV-found patterns to patterns in existing photos tagged on social media, CV programs may also tag an individual regardless of where that photo was obtained. CV programs are incredibly accurate, can select a face from multiple angles and backgrounds, and can identify a person’s emotions.
Check out CV Dazzle to learn more about anti-facial recognition makeup and other styles!
Materials & Tools
Materials

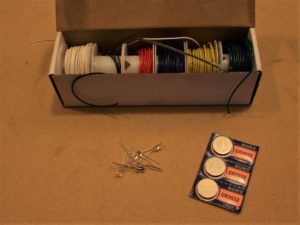
- Flowers!
- 5mm LEDs
- 3V Lithium Coin Cell Batteries
- Rubber Bands
Optional glove controller:
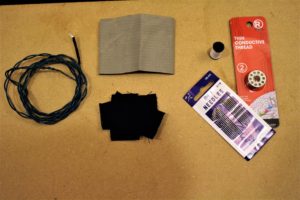
- 22 or 24 Gauge Stranded wire
- Conductive Thread (~ 2 ft.)
- Conductive Fabric (~ 6 in. x 6 in.)
- Small fabric squares (~ 1 in. x 1 in.)
- Needle & Regular thread
Tools
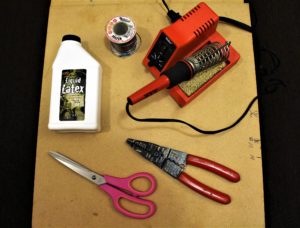
- Liquid Latex
- Scissors
- Wire Strippers
- Soldering Iron (recommended for glove controller)
- Hot glue gun (or other fabric-safe glue)
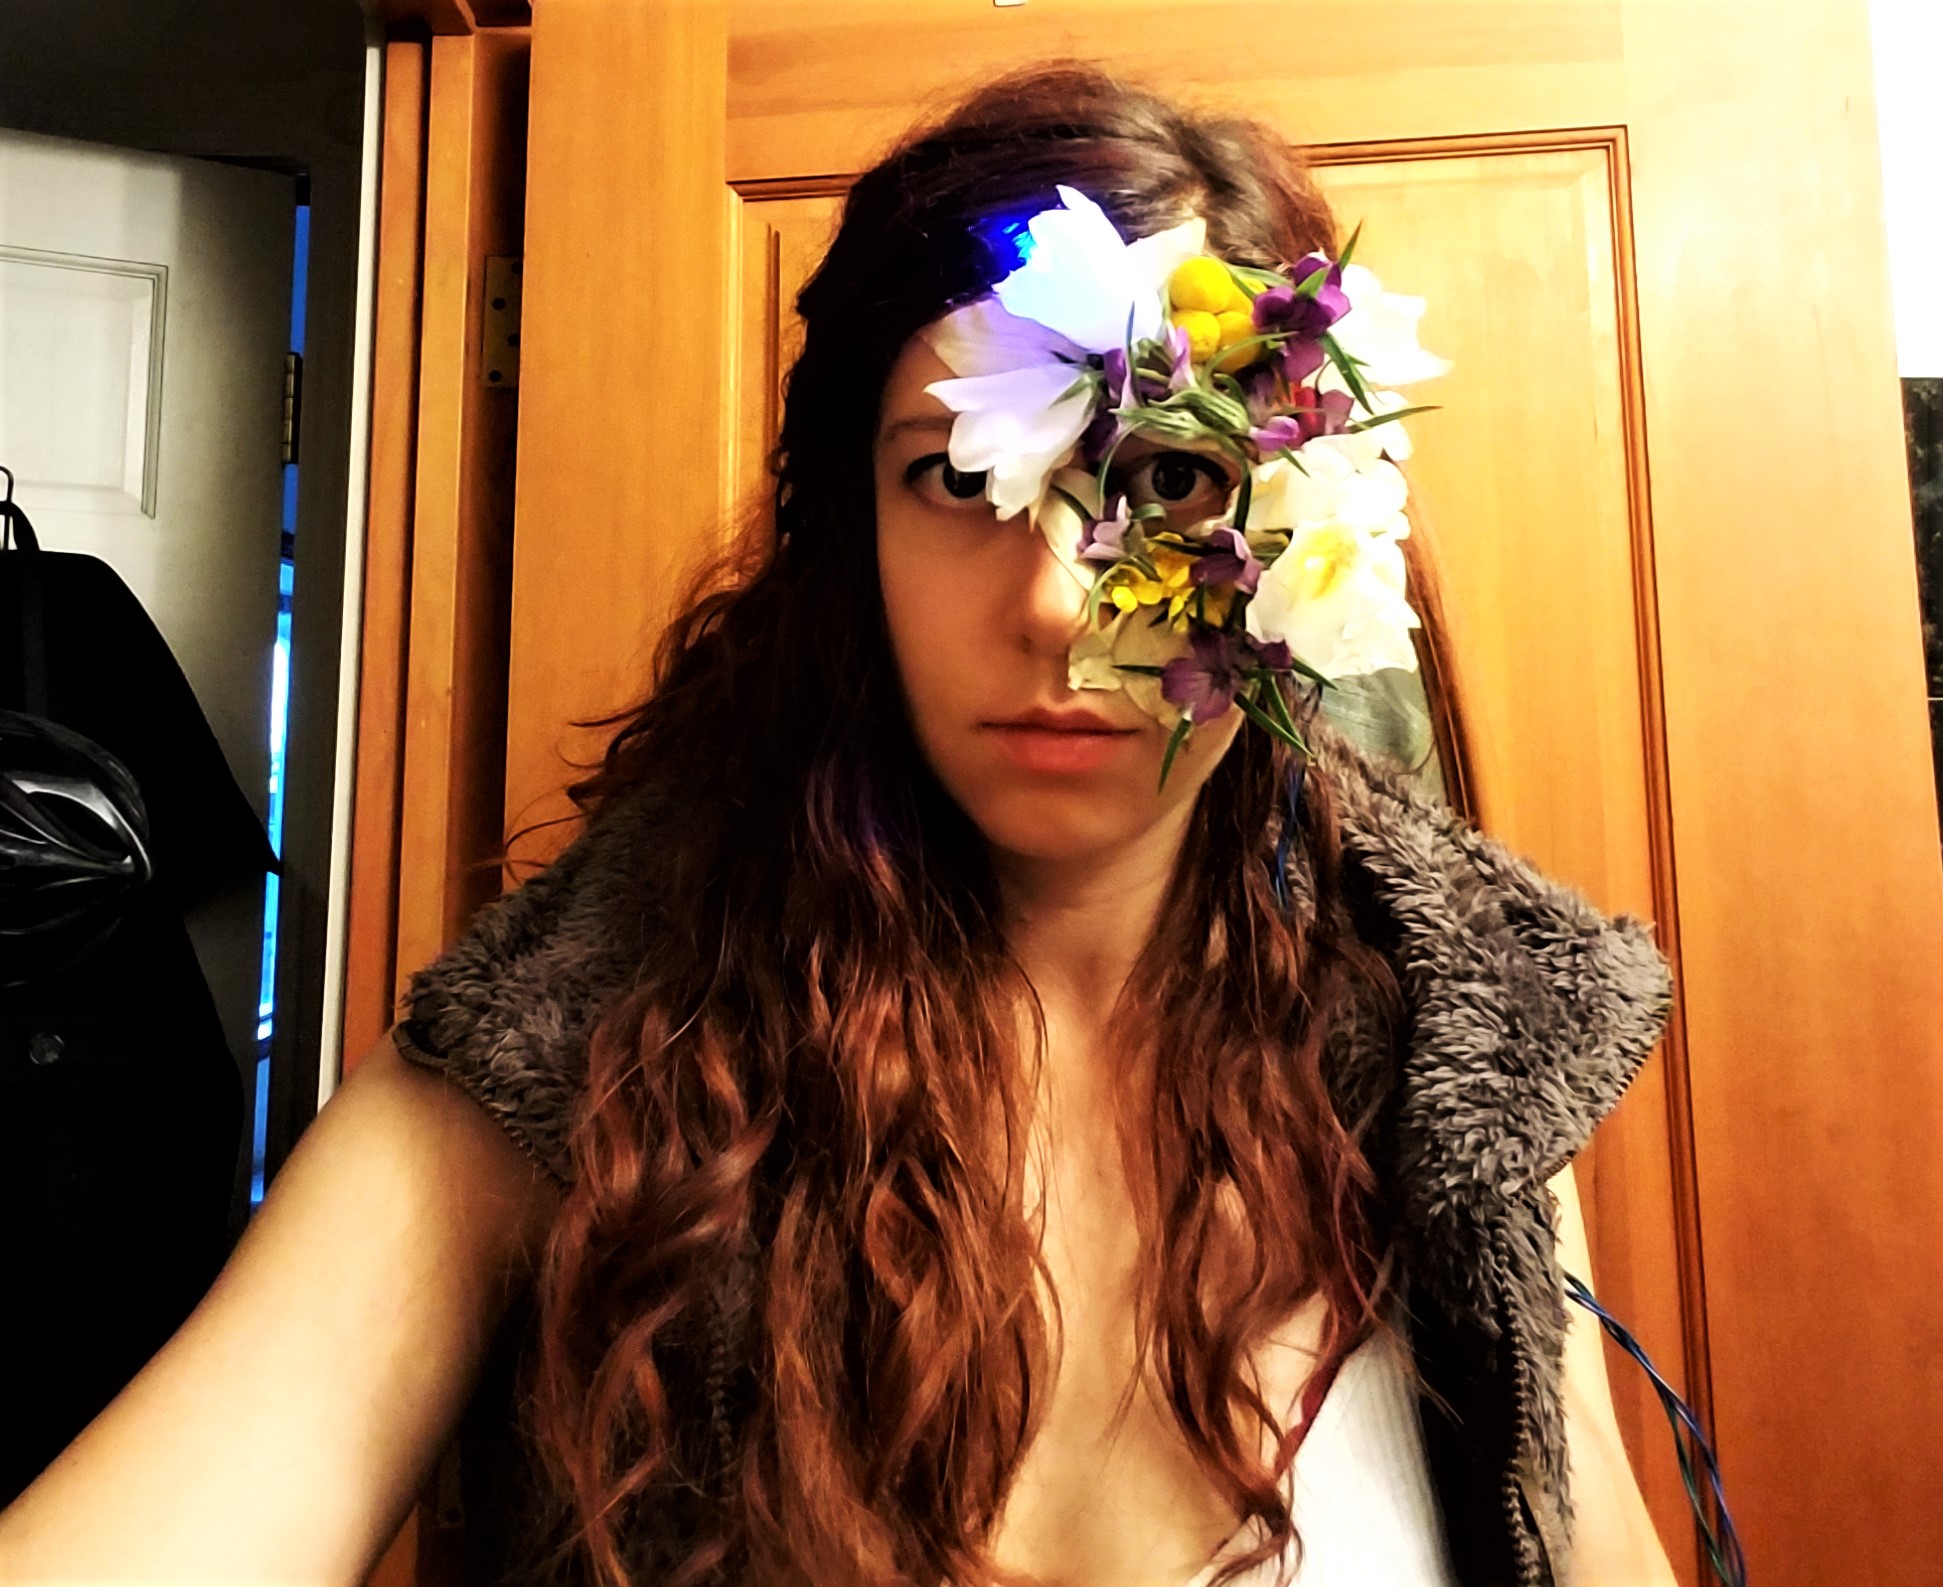
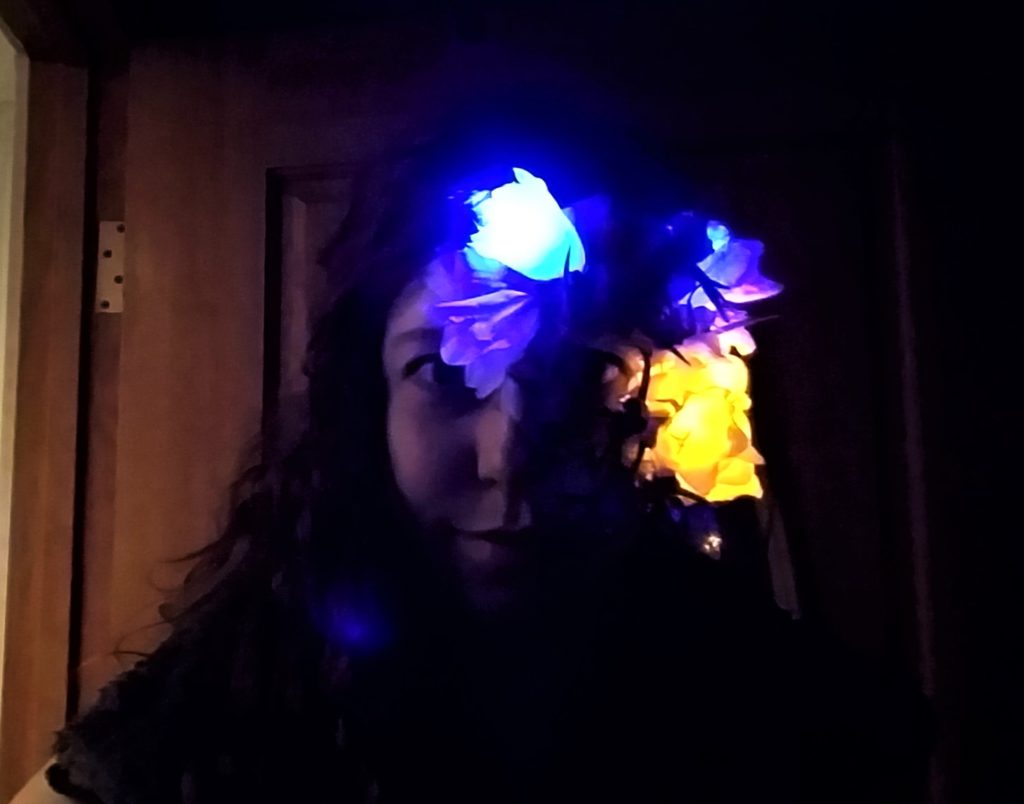
Step 1: Attaching the Flowers

Use the flowers to cover up distinguishing facial features. Eyes, eyebrows, and nose bridge are three primary regions of the face that are used by facial recognition software to identify and tag a face.
1. Cut flower stems off (unless you want ’em on for aesthetic purposes).
2. Pour a small amount of liquid latex into a container.

3. Figure out where you want to put the flower, then dab the base of the flower into the liquid latex. Let it dry for a few seconds, until it feels sticky and less liquid.
Be sparring with this stuff, it can be kinda painful to peel off, especially after 30 flowers.
4. Attach the flower to your skin. BUT FOR REAL THOUGH avoid your hair!! It is a huuuge pain (literally) to get out.

5. Repeat 2 & 3 until your face is adequately covered.
You can check your progress using a Snapchat or Instagram filter: If the filter can’t find your face or looks wonky (like sunglasses on your forehead instead of your eyes) then you’re all set!
Step 2: Adding LEDs!
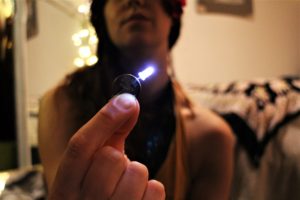
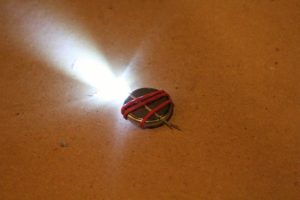
To add freestanding LEDs, grab a coin cell, and push the two LED legs over the coin cell battery sides (longer LED leg on the positive battery side). Dip one side in the liquid latex, let dry for a few seconds, and then smoosh onto your skin just like with the flowers (again, avoiding precious and sensitive hair).
If you’re using the glove controller (see next step), run the LED wires up your arm to behind your ear, holding them in place with rubber bands or hair bands. Arrange how you want the LEDs to point, then pin the wires in place with bobby pins. That should be sufficient to hold them, if not add some liquid latex to the ends of the LEDs.
The LED + coin cell combo should last ~ 12 hrs.
Step 3 (Optional): Make a Glove Controller
This is a good option if you want to save battery life or to be able to turn on/off the LEDs. The thumb is the battery case, with conductive thread on the top as the positive connection. The fingers are the positive connections for the LEDs.
This takes ~ 2 – 3 hours to build.
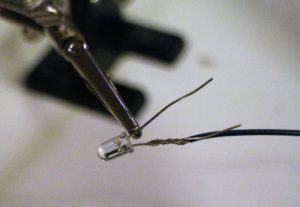
1. Attach wires to the LED(s).
Measure out two (2) wires per LED to span from your head, down your neck, and to your wrist. Add 3″ to this measurement to allow for movement. Cut wires and strip both ends.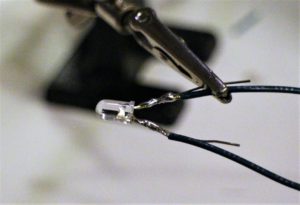
Mark the positive side of the LED with a pen, then twist one end of each wire around the LED leads. Solder the LED leads to the wire. Use a red wire, or mark the positive wire with a pen.
If available, use heat shrink tube to make a poke-less connection. Or just coat it in epoxy or hot glue or some other liquid adhesive.
Repeat for each LED you want to add to the glove.
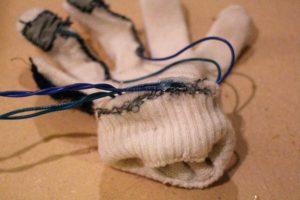
2. Using conductive thread, make the negative side of the circuit: a negative connection for the coin cell and a “ground bar” for the LEDs.

Put on the glove, and mark where the center of the battery will go. Sew about 10 layers of conductive thread over your mark — this is the ground connection for the coin cell battery.
With the thread still attached, sew down to the base of the glove and stitch back and forth until there are a few layers of conductive thread in a line — this is the negative connection for the LED connections.
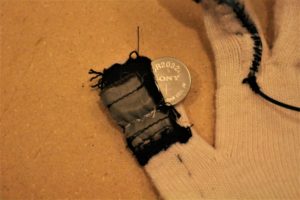
3. Make a coin cell battery case on the thumb of the glove.
Cut out 1 square of regular fabric, and 1 square of conductive fabric.
Cut a small hole in the regular fabric and then stitch the conductive fabric square over the hole (with regular thread). Run over this a few times since the conductive fabric tends to fray.
Using normal thread, sew 3 of the 4 sides of the regular fabric over the negative connection for the battery, so that it makes a lil’ pouch for the coin cell. (You might want to sew down the 4th side a bit to hold in the battery, or use a safety pin).
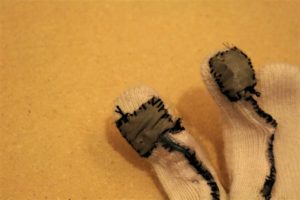
4. Attach the positive side of one LED to a glove finger and make a conductive pad.
Sew the positive LED wire onto the glove (regular thread)
Still using regular thread, sew a square of conductive fabric over the stripped end of the wire.
5. Attach the negative side of the LED to the glove ground pad.
Wrap the stripped end of the wire to the conductive thread ground pad and/or use conductive thread to secure it.
6. Repeat 4 & 5 for all LEDs.. or until you run out of fingers.
7. Epoxy or use fabric glue to adhere all of the connections.
Step 5: Test & Deploy!
Test your privacy enhancing getup by opening Snapchat or another filter app and check that it can’t identify that there is a face in the image. At the very least, if it does identify a face, be sure that the filter it adds is hilariously broken.
If you want to get real serious, you can download the OpenCV library and test it against your wearable — this is my long-term goal, but for now I’m happy with sticking flowers and LEDs on my face for V1.0.
Stay tuned for more of these anti-facial recognition wearables and please share your awesome creations!